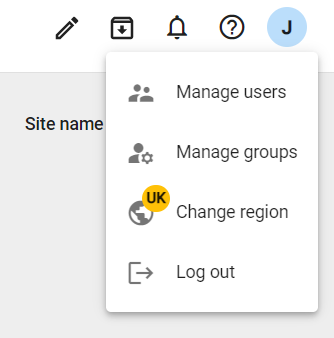
- Once you are logged in to Oculo, navigate to the top right of the page - click your initials to open up the extended menu, and select Manage groups.
- Then select Add new group, to open up the
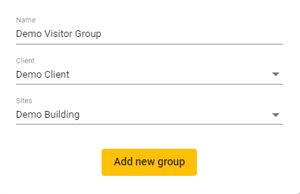
- Name your new visitor group, and select the site for which the group will apply.
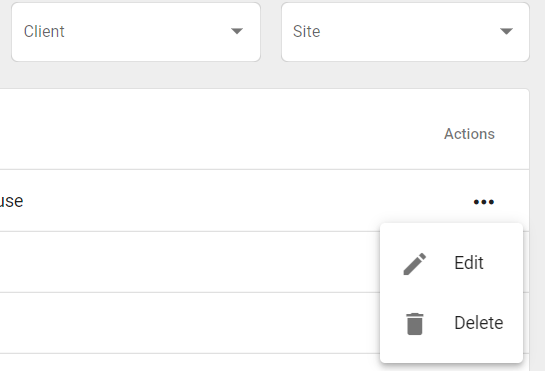
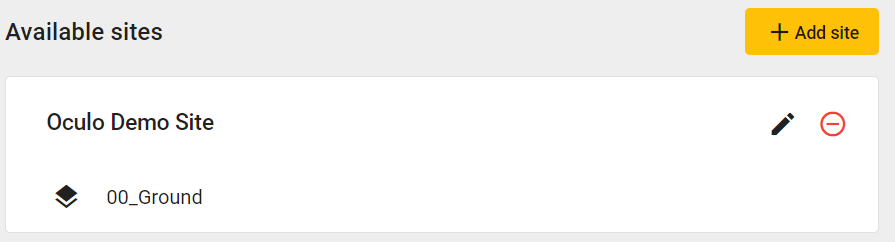
- Your group has been created and will show in the list. Select the 3 dots next to it, then Edit.
- Click the pencil symbol next to the site for which you want to define an area. Note that you can add additional sites to this group by clicking Add site.
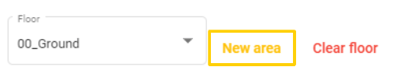
- Once you see the floorplan for your site, navigate to the floor that you wish to define an area for, then select New area.
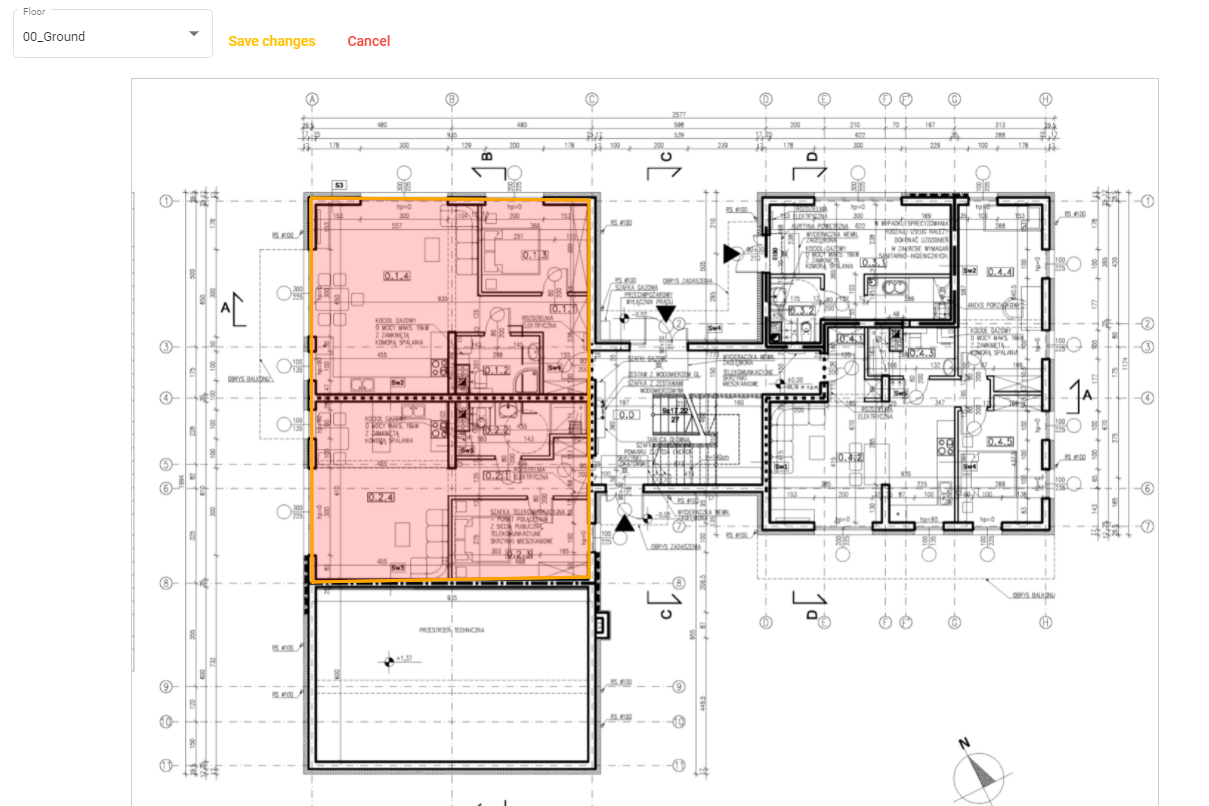
- Define the area using single left clicks of the mouse at each corner of the shape you wish to draw. Once satisfied with the area, a single right click of the mouse finalises the shape (the inside of the shape will turn red). Click Save changes to add this area to the group.
- You can use New area to define additional areas on this floor or other floors of the site. Once you are happy that are all areas have been defined and saved, click the blue cross in the top right of the page to exit the edit mode.

- You will now see a list of areas defined for the site. You can go back to edit further using the pencil symbol of required.

- Now that your visitor group has been defined, when you add a new user and select the Visitor role, you are able to choose the new visitor group from the list given in the Sharing Groups section.
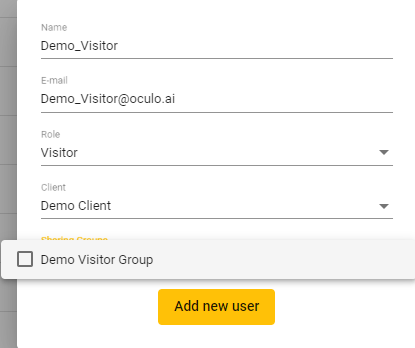
- Adding the new user as a Visitor to this sharing group limits their ability to see 360 visuals to only those areas defined, and does not allow any visibility of Issues.
You can now define and add users to visitor groups to limit the areas of a site to which they can access in Oculo.
Please reach out to help@oculo.ai if you have any further questions.