![Oculo Logo_Logo Full_Green_L.png]](https://help.oculo.ai/hs-fs/hubfs/Oculo%20Logo_Logo%20Full_Green_L.png?height=37&name=Oculo%20Logo_Logo%20Full_Green_L.png)
When would I use this?
Any time you are comparing reality and the BIM model, and you need more accuracy:
- As built verification checks.
- Using BIM model to take measurements in Overlay mode.
- Discussing a variation/reviewing a design change.
When a scan is processed, Oculo makes a best-effort attempt to align it with the associated 3D model. In most cases this produces a usable result, but it is not always accurate. The Update Scene Alignment tool lets you manually adjust the alignment for any scene, so that BIM Comparison and BIM Overlay views are as accurate as possible for your needs.
Where to find it
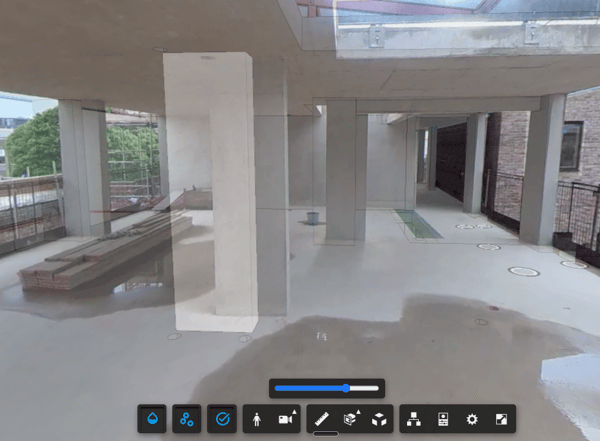
The Update Scene Alignment button appears in the top left of the screen when you are viewing a scene in either BIM mode:
- BIM Overlay mode - the button is in the top left of the screen.
- BIM Comparison mode - the button is in the top left of the BIM model panel.
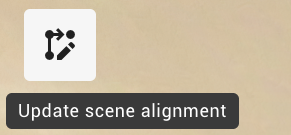
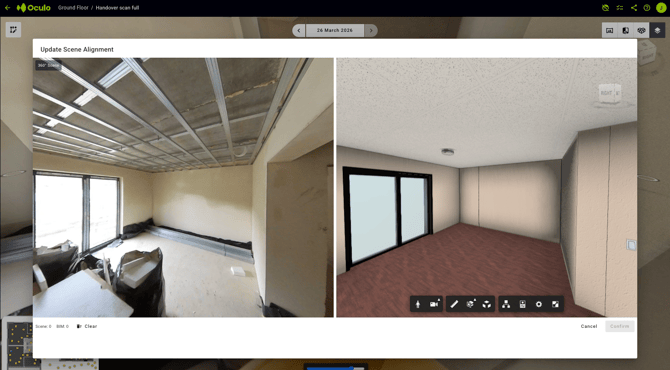
Opening the tool from either mode produces the same result - it always opens in side-by-side comparison view, regardless of which mode you were in.
How to update the alignment
The adjustment works by placing pairs of matching reference markers - coloured dots - at the same physical point in both the 360 scene and the BIM model. Oculo uses those pairs to recalculate the alignment between the two.
- Open the scene in BIM Comparison or BIM Overlay mode and click Update Scene Alignment.
- The alignment editor opens as a pop-up showing side-by-side comparison view. You can click and drag to navigate and zoom in, just as in the regular comparison view.
- Hold Alt and left-click on a clear reference point in the 360 scene - for example, a room corner, a door frame, or any identifiable fixed feature. A coloured dot is placed.
- Still holding Alt, left-click on the same reference point in the BIM model. A matching coloured dot is placed.
- Repeat for additional pairs. You can place multiple markers in the scene first, then place the corresponding markers in the model.
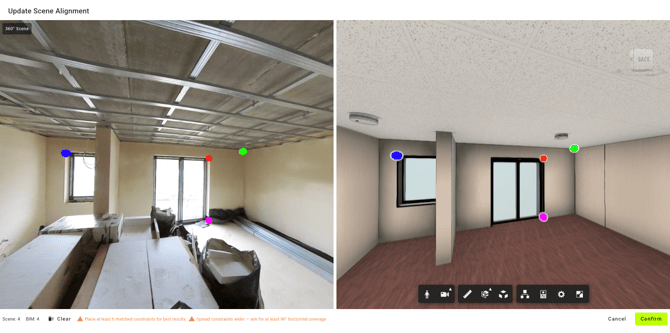
- When you release Alt, Oculo applies an intermediate adjustment based on the markers placed so far, so you can assess progress as you go.
- Once you are satisfied with the alignment, click Confirm to save.
For best results: Place at least 6 pairs of markers, spread around the full scene, including 'behind you'. The editor will prompt you if you have not yet met these thresholds.
Using the adjustment
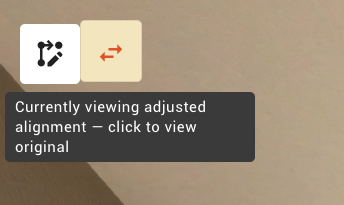
Once you save an adjustment, a toggle button appears in the top left of the BIM view for that scene:
- Orange - the adjusted alignment is currently active.
- White - the original (unmodified) alignment is shown.
The adjusted alignment is saved for all users. When any user opens that scene in BIM Comparison or BIM Overlay mode, the adjusted alignment is shown by default. The toggle button confirms that an adjustment exists and indicates which version is currently displayed, and allows you to switch between them.
Things to bear in mind
- One adjustment per scene. Only one alignment adjustment can be stored per scene. If a second user (or the same user) saves a new adjustment for the same scene, it replaces the previous one. All users will then see the new adjustment, and the earlier one cannot be recovered.
- Adjustments apply to the current scene only. Updating the alignment for one scene has no effect on adjacent or nearby scenes. Each scene that needs correcting must be adjusted individually.
- Aim for improvement, not perfection. A variety of factors can affect alignment accuracy - including the precision of the 3D model itself. In most cases it is possible to get a substantially better result, but perfect alignment may not always be achievable. Focus on getting the view to a usable state for your purposes.
Need help?
Contact help@oculo.ai if you have questions about updating BIM model alignment.