
Is your scan coming out blurry, dark, or otherwise poor? These tips may help.
The output quality of your scan depends highly on the condition of your camera, and the setup of your site. If your scan quality is lower than you would like, there are some actions we can take to improve it.
1. Revisit the site walk guidelines
- Refer to our article on how to perform an effective site walk to make sure you followed the guidelines. Take note of any mistakes or problems that may have impacted your initial site walk so you can remedy them next time.
2. Keep the camera lens free from dust, debris and rain
- Before scanning, always clean the camera lenses with your microfibre cloth. If making a scan outdoors, try to do so when it is not raining, as this can obstruct the camera lenses. It is best to assume before every use that your camera needs a clean, even if it may look spotless.
-jpg-1.jpeg?width=688&name=Image%20from%20iOS%20(2)-jpg-1.jpeg)
3. Improve the interior lighting of your project
- Dimly lit areas will result in low quality scans and increased blurring of frames, potentially impairing your ability to see important details of a scan.
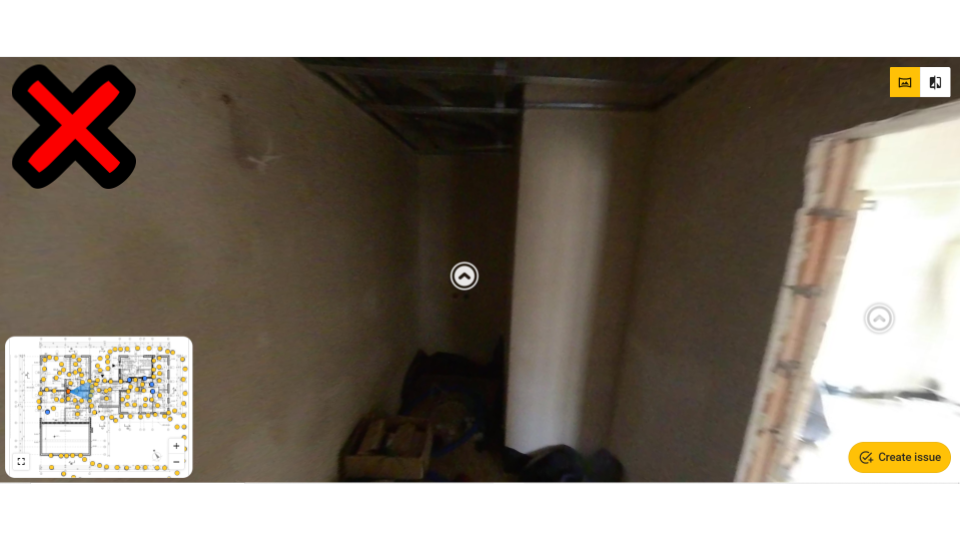
- Try and take scans during periods of clear daytime for good natural lighting, and use artificial lighting to brighten dark rooms with no windows.

4. Always start scans from the Oculo app
- Starting your scans from the Oculo app ensures that all settings on the camera are automatically set to the correct ones for the best output.
- If for any reason you cannot start a scan from the app, you need to manually make sure that the camera settings are configured correctly. Refer to our article on setting up your camera if unsure. Incorrect settings may impact the output quality.
Last Updated: 29/09/23