The Floor Plan of your scan gives visibility to the job walk taken when the scan was recorded. This allows the user to navigate to any point of the scan's job-walk on any available elevation, as well as easily identify locations on the job-walk that contain issues that have been created.
Accessing Your Floor Plan
- Starting from your site's dashboard, you can view your floor plan, with the ability to change floors, view created issues and change the scan date.
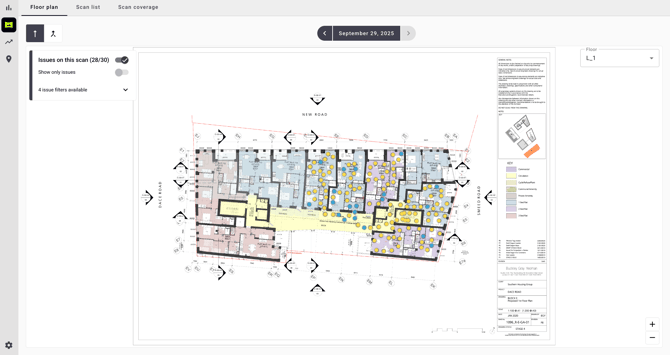
- Each dot represents a 360 scene and clicking it will transport you to that point on site.
Navigating Your Floor Plan on 360 mode
- Once in 360 mode, the floor plan shrinks to the bottom left of the screen to allow for the 360 view.
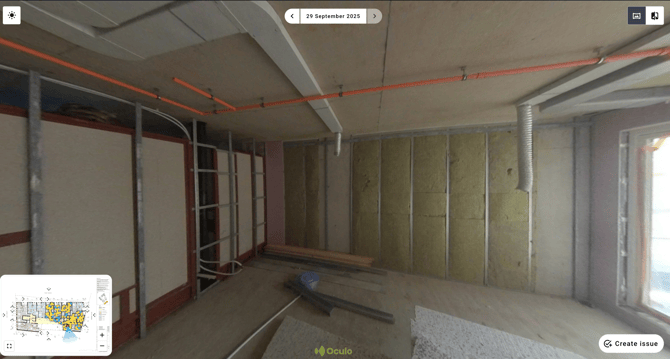
- You can use the navigation circles on the 360 view to move around but if you want to move further away, the floor plan can help you do that. Hovering over it will make it expand.The current scene is highlighted.
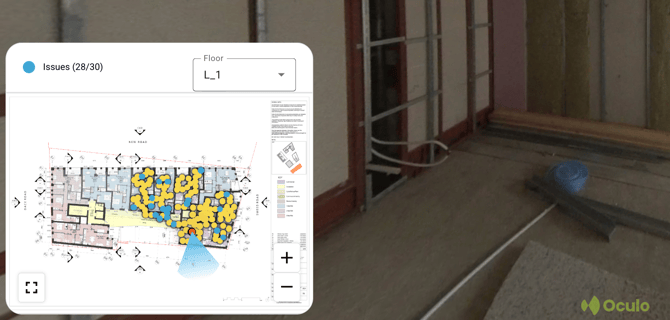
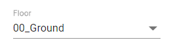
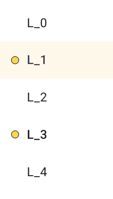
- The Floor dropdown menu shows the name of the level you are currently looking at. Clicking this will expand a drop-down bar, allowing you to check other levels of the floor plan. Options with a yellow dot next to them identify levels that have a scan for the date you are currently viewing.
- At the top centre of the screen you will see the date of the scan you are viewing. The two arrows will let you go backwards and forwards in time from one scan date to another in chronological order.