Using the Oculo app
-
Login to Procore and navigate to a project where the Oculo app has been configured
-
Select the Oculo app from the list of apps

-
Oculo is now displayed and you can click to sign in

-
The floor plan of your site will displayed, and you can navigate to any 360 scene by clicking the yellow or blue dots

-
You can navigate within the scene using the white arrows, or by selecting another yellow or blue dot in the mini map at the bottom left of the screen

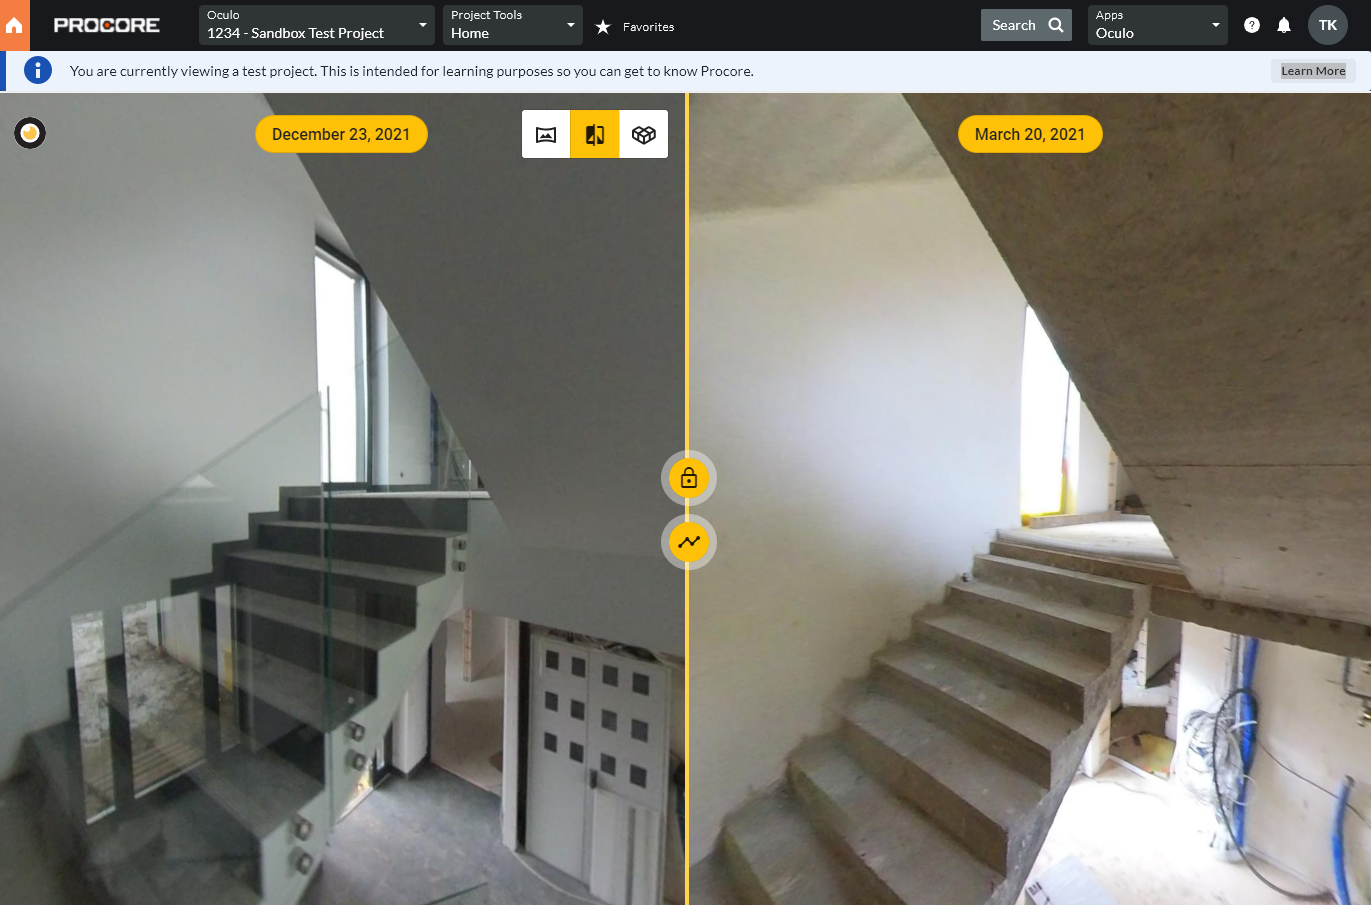
- Selecting the Side by Side toggle button will open up the same scene from another scan date, and the comparison scan date can be selected from the timeline button in the middle of the screen

-
If your Oculo site has a 3D model, selecting the BIM Compare toggle button will open up the model for whichever scene you are viewing

Using Oculo within Procore
- Navigate the Site:
- From the Procore dashboard, you can access a fully navigable window into Oculo, allowing you to view 360-degree visuals, perform side-by-side comparisons, and manage BIM overlays.
- Manage RFIs and Observations:
- Within the Oculo integration, you can create and manage RFIs and observations. Note that while you can track tasks and issues, comments and responses are not supported within the integration.
- Profile and Account Management:
- Ensure your profile, email, and name are correctly set up in Procore for a seamless experience.
Please feel free to reach out to help@oculo.ai if you need support in configuring the Oculo app in Procore.