![Oculo Logo_Logo Full_Green_L.png]](https://help.oculo.ai/hs-fs/hubfs/Oculo%20Logo_Logo%20Full_Green_L.png?height=37&name=Oculo%20Logo_Logo%20Full_Green_L.png)
Before you start: this article assumes the integration has already been set up for your site. If it hasn't, start with How do I connect Oculo to Autodesk Forma and come back here afterwards.
When would I use this?
- Forma is your master issue management system, but you've spotted something on a 360° scan that needs actioning.
- You have an evidence gap in Forma that you want to fill with data from Oculo.
- You want to share something with an external party that does not have access to Oculo, but is part of the Forma team.
Overview
Once the Autodesk Forma integration is enabled on a site, Oculo can create issues directly in your Forma Build project. You choose, at the moment you create the issue, whether it should be an Oculo Issue (stays in Oculo only) or a Forma Issue (pushed through to Autodesk). Choosing Forma Issue gives you the full set of Forma Issue fields inside Oculo, including the real list of assignees from your From project.
An issue pushed to Forma arrives with the screen grab you captured, a floor plan image marked with the issue location, and a hyperlink back to the exact scene it came from in Oculo. Data is then kept synchronised, so updating or closing the issue in Forma closes it in Oculo too.
Check the site is integrated
Look at the site card on the home dashboard. If the site has been integrated with Autodesk, you'll see the Autodesk symbol at the top of the card. No symbol means the integration hasn't been set up for that site.

Sign in to Oculo with Autodesk
- On the Oculo login page, click Continue with Autodesk at the bottom.
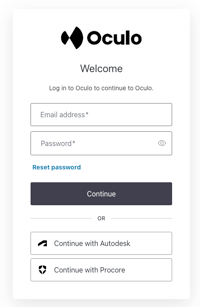
- Enter your Autodesk email and password, then click Sign in on the Autodesk page.
- On the Authorise Application screen, click Allow.
Only click Allow once, and wait some seconds for the authorisation. If you click it multiple times, you may see an error message.
Once you're signed in with Autodesk, the projects you can see in Oculo are the ones that meet both of these conditions:
- The project has been integrated with Forma, and
- You already have access to that project in Forma.
If either is not true, the project will not appear. An integrated project opens and behaves in almost exactly the same way as a site without the integration. The differences are the sign-in method and the way Issues work.
Creating a Forma Issue from a scene in Oculo
- Go to the scene where you want to raise the issue and click Create Issue, as you normally would.
- Highlight the area of the scene the issue relates to.
- At the top of the issue panel you'll see an extra field asking whether to create this as an ACC issue or an Oculo issue. Select ACC issue (soon to be Forma Issue).
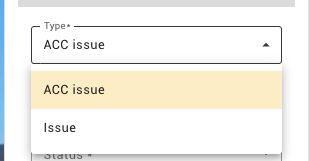
- Oculo pulls in the full Forma Issue configuration. Fill in the fields, for example the title, status and issue type.
- Use Assign to if you want to assign the issue. This lists the people from your Forma project.
- Click Create Issue.
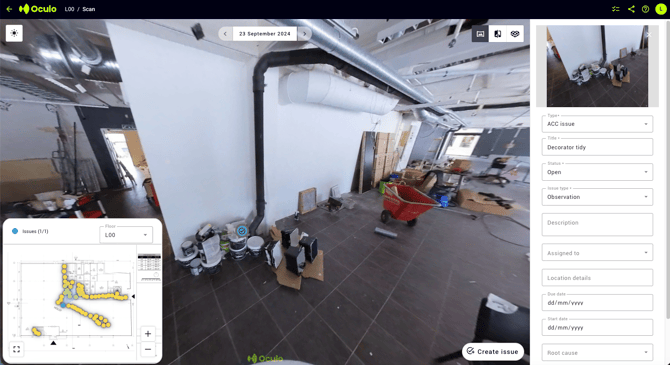
You'll get an Issue created successfully message, a blue tick appears at the issue location in the scene, and the scene floor plan marker now shows as blue to indicate it contains an issue.
Note: Selecting Oculo Issue keeps the issue in Oculo only and shows you just the Oculo fields. It is not pushed to Autodesk. Selecting ACC issue loads the Forma field set instead, so pick the right one before you start filling fields in.
Open the issue in Autodesk
At the bottom of the Issue window in Oculo, click Open Issue in ACC. This takes you to the issue in Autodesk Forma, under Build > Issues.

On the Autodesk side you'll see the data you entered in Oculo carried across: the same title, status and type. The issue also has two reference files attached:
- The screen grab you captured in Oculo.
- A floor plan with a blue dot marking the location of the issue.
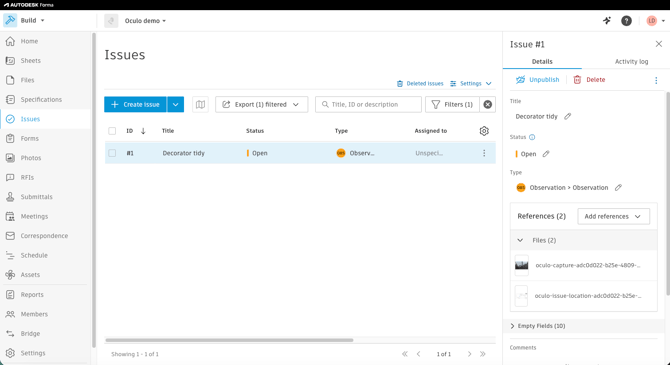
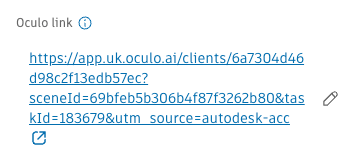
In the Oculo link field you'll find a link back to the scene in Oculo the issue was captured from.
Issues stay in sync
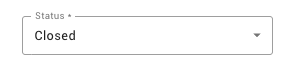
Once an issue exists in both systems, the Oculo Issue and the Forma Issue are kept synchronised. If you change the status in Forma to Closed, then go back to Oculo and refresh, the Oculo status will also show as closed.

Push existing Oculo issues or mobile Issue into an Forma Issue
Existing Issues in Oculo, or Issues raised from the Oculo mobile app will show in the Oculo Issue list as Oculo issues. To push one through to Autodesk:
- Go to the Issue List in Oculo.
- Change the issue type from Oculo Issue to ACC issue.
- Fill in the additional Forma field data you're prompted for.
The issue is then pushed into Forma and behaves in the same way as one created as a Forma Issue from the start.
Summary of what goes where
| Issue Type | What happens |
|---|---|
| Oculo Issue | Stays in Oculo. Oculo fields only. Not pushed to Autodesk. Can be converted later from the Issue List. |
| ACC Issue | Created in Forma Build with the image, a located floor plan, and a link back to the Oculo scene. Status kept in sync. |
| Mobile app issue | Always created as an Oculo issue, during or outside a scan. Convert from the Issue List to push it to Autodesk. |
Related articles
- How do I connect Oculo to Autodesk Forma - the one-time setup that has to be done before anything in this article works
- Using Oculo from within Forma - how to setup the Oculo Partner Card in Autodesk
- Creating and managing issues in Oculo - how issues work on sites without the Autodesk integration
- Oculo mobile app guide - capturing issues on site during or outside a scan
Need help? Contact help@oculo.ai if you have any questions about using the Autodesk integration.