Downloading the app
- To download the app - visit the Apple App Store or Google Play, search for "Oculo", and download to your device. Alternatively scan this QR code on your mobile.


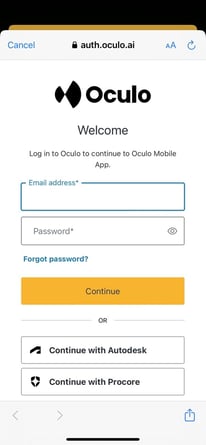
- When opening for the first time, select Sign In where you will be prompted to log in with your Oculo account details.
Recording a New Scan with the Mobile App
- Before starting, make sure your camera is switched on, your phone's Bluetooth connection, Wi-Fi connection, and GPS location (Android) functions are enabled. Also, make sure your camera is set up and prepared correctly, check our article if you need guidance on this.

- To get started, select 'Create Scan'.

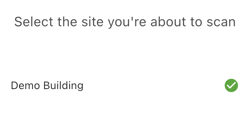
- Select the site that you are scanning.
- Select your camera from the menu (note that it will only show if the camera is turned on). If you are using an X4 or X5 camera, the app will ask you for a password to connect to it. The password can be found by following these steps: Swipe to reveal the menu > Go to settings (cog symbol) > Go to wifi settings > The password is there, insert that on the Oculo app

- When you are ready to start your walk, press Start Recording. Your project's floor plans will come up on the screen next for you to choose your starting location by dropping a pin.
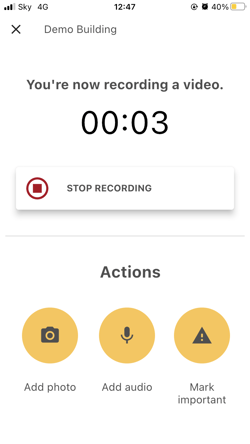
- Once you confirm your starting location, the camera automatically starts recording - you may hear a beep and the camera's light will go flashing red. Most importantly, your Oculo app screen will now be showing you a scan timer and the scan action buttons.
When recording, be sure to follow the guidelines on how to perform an effective site walk.
Creating and Uploading Mobile Photos & Audio notes
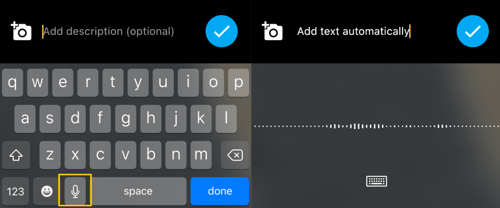
- During recording, you can add photos and audio notes by selecting the relevant action button
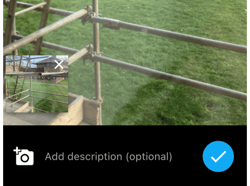
- When you select Add Photo, your camera will open up. Take the photo as normal, and if it looks good then select Use Photo (you can hit Retake for another go if needed).
- You can add a description now on your mobile, or come back to this later once the scan has been processed.
- Once captured, you can also assign a category that can be later used for filtering in Oculo.
- These will be then automatically pinned and geolocated to the point of capture, reflected as a blue dot on your published scan.
The photos are not automatically saved on your phone's camera roll but if needed they can be accessed through the Scan history on the Oculo app and saved on your camera roll or shared.
-
-
-
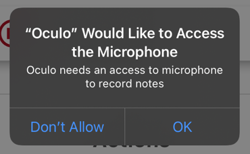
- In the voice menu, simply hold to record and begin speaking. Release the button to end the recording, and click Save.

- You can also assign a category from the drop down list for filtering at a later date, before clicking Save.
- In the voice menu, simply hold to record and begin speaking. Release the button to end the recording, and click Save.
-
-

Finishing the job walk & uploading the scan
- When you are finished with your scan, press Stop Recording, then select Yes to confirm that you want to finish. Your site's floor plans will come back up again, for you to select your ending location this time. Once confirmed, the camera will automatically stop recording.
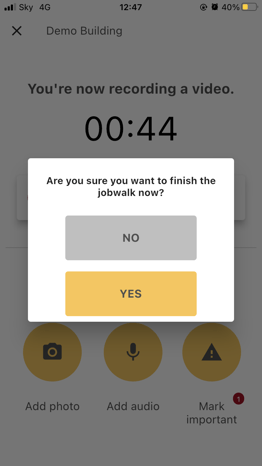
- You will see a confirmation that the scan has finished.
- Your jobwalk is complete - to upload the scan onto Oculo follow the instructions of the relevant articles.