Remember that files are not shown in the Select Directory step
1. When uploading your files, keep in mind that your files are not shown when you are selecting the directory - you will only see your files after clicking Select Folder.
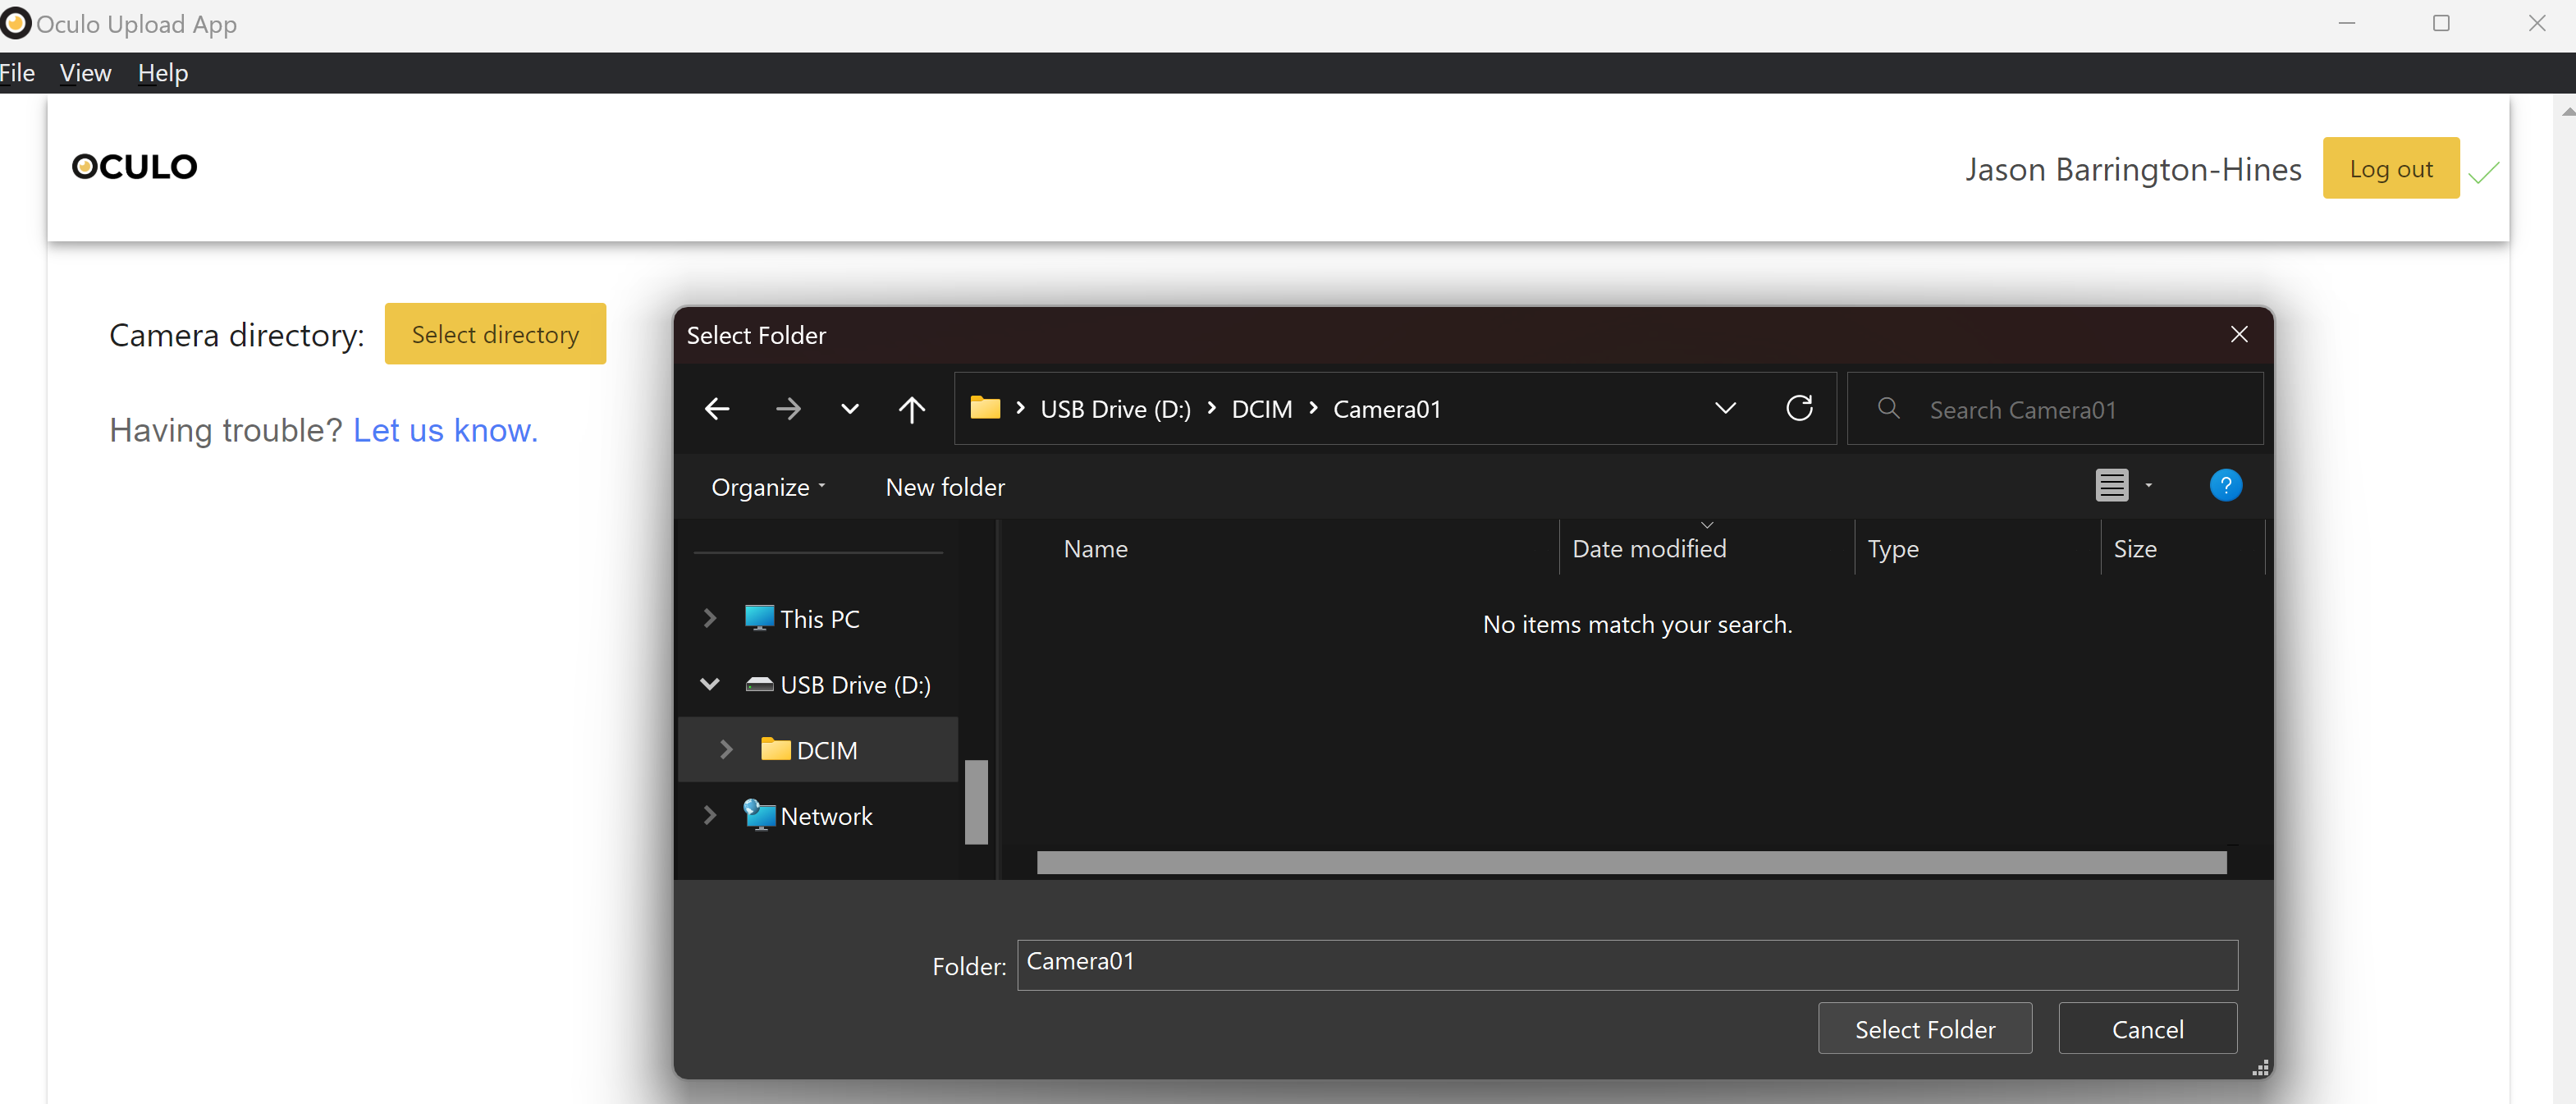
2. If you have clicked Select Folder and the app does not find any files to load - then there may be an issue with the files themselves.
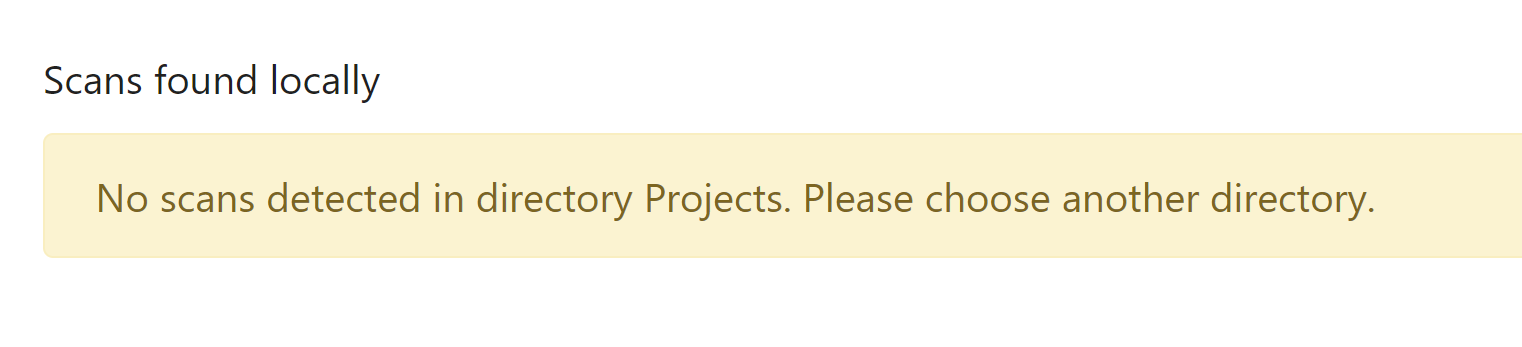
If the files you are looking for are not visible
1. Navigate to the camera directory from Windows Explorer, and confirm if the files are visible there. Look for a Date modified at the date and time of the scan that you are looking for. 
2. If the files are not visible in the directory, it is likely that something has gone wrong with the recording. You may need to carry out the scan again, but be sure to make a quick test recording first and check that the files are created.
3. If the files are visible in the directory, but not visible in the Desktop App, then you should get in touch with our support team. Send an email to help@oculo.ai that includes the Desktop App Version, your Windows/Mac version, what kind of recording was done and its duration - we will share a link to upload the files directly so we can understand the issue better.
We should be able to get to the bottom of the issue, and get you back scanning and uploading in no time.
PRO_ file format
1. Check the names of the files, if they start with PRO_ then they have been recorded in an unsupported mode
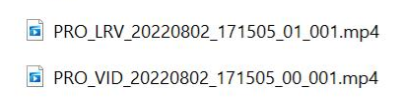
2. PRO mode is only available when recording in 150 degree mode (single lens), and we require 360 degree videos to process
3. To switch between 150 and 360 mode there is a button on the left hand side of the screen on the camera itself - this should say 360 as in the picture below (if it currently says 150, it needs to be pressed to change it back to 360).
