-
Remove the battery pack and insert the micro 128GB SD card, then replace battery pack. Please ensure that your SD card is 128GB and says 'V30' on it.

- Turn on the camera, by pressing and holding the power button.

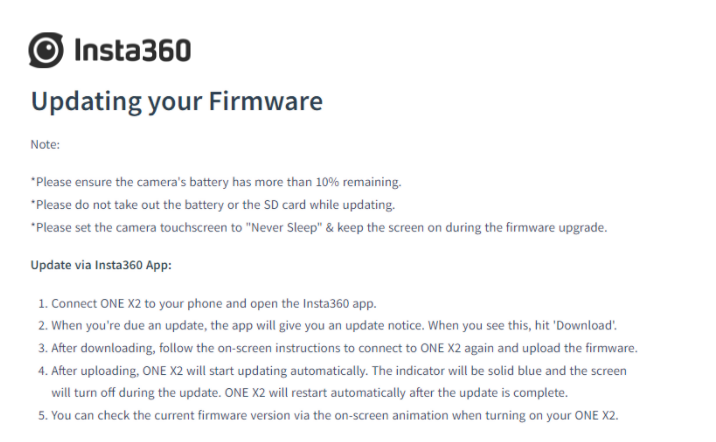
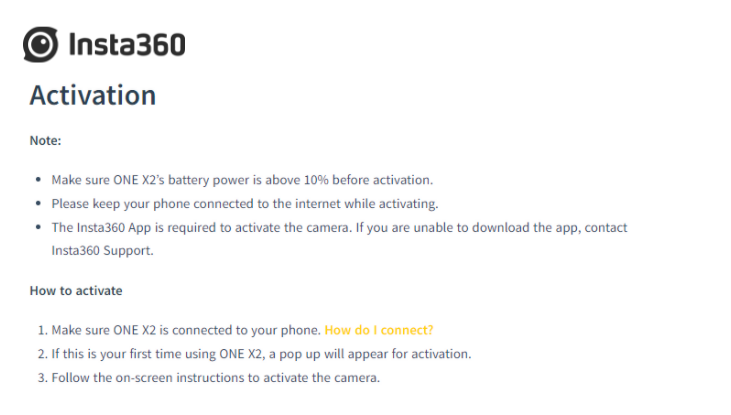
- Update firmware and activate camera by following the Insta360 instructions below (also found here).
Note: this is the Insta360 app that is required for this step:
-
Turn off voice control for the camera. Note - the 'speaking person' icon says "ON" when turned on, and says nothing if turned off.
-
Ensure that the USB mode is in 'Desktop Mode' to avoid any issues with your computer detecting the camera.
-
Gyro calibration - navigate to the gyro navigation setting, then follow the instructions on the screen to complete the calibration. This means sliding the bar left to right and holding the camera vertically for a few seconds.
-
Switch the camera to Timelapse Mode as this represents the optimum resolution:file size ratio.
- Please ensure that the cameras lens settings are as per default:
- +/- Auto
- EV 0
- WB Auto
- Colour Standard
- Frame rate 0.5s (only visible when in Timelapse mode)
Reach out to help@oculo.ai if you have any issues or questions.